Creating Your First Workflow
Setup the UI
In this example, we will create a simple workflow which multiplies 2 numbers together.
Before you start on the Workflow, add 2 values value1 & value2 to the UI Only data store. Set these values to 50.
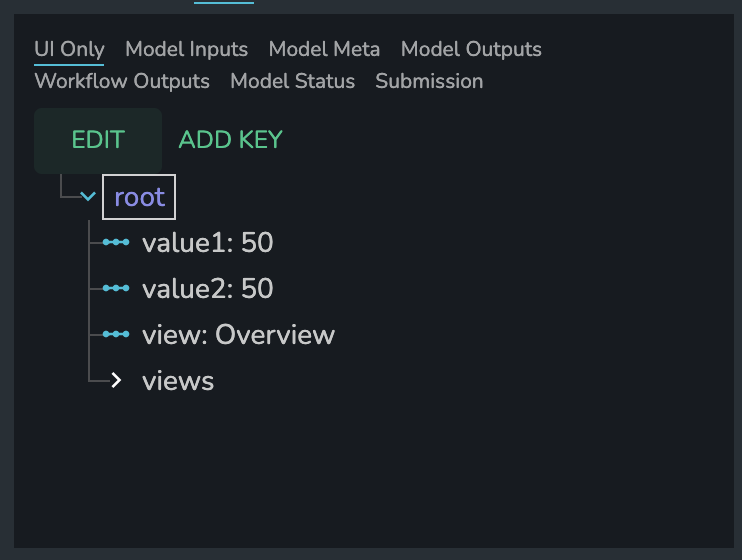
Now, add 2 Sliders to your app, with the Value of each slider linked to value1 & value2.
Create the Workflow
To create your first Workflow, enter the Workflows tab using the switcher in the top of the screen:
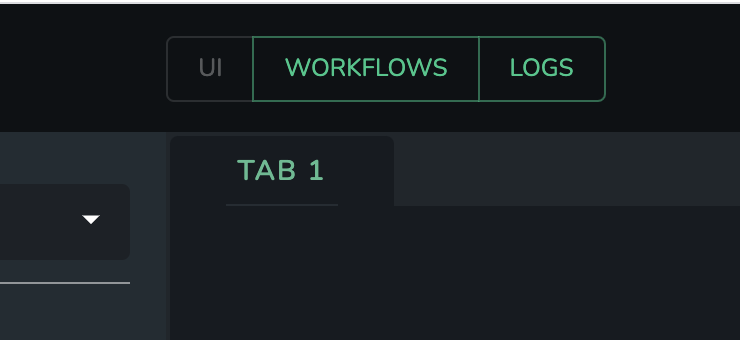
Once there, you will see the list of existing Workflows (which should be empty). Create a new Workflow by clicking the Create new workflow button.
Workflow Builder Interface
You should then see the workflow editing interface, with a blank workflow:
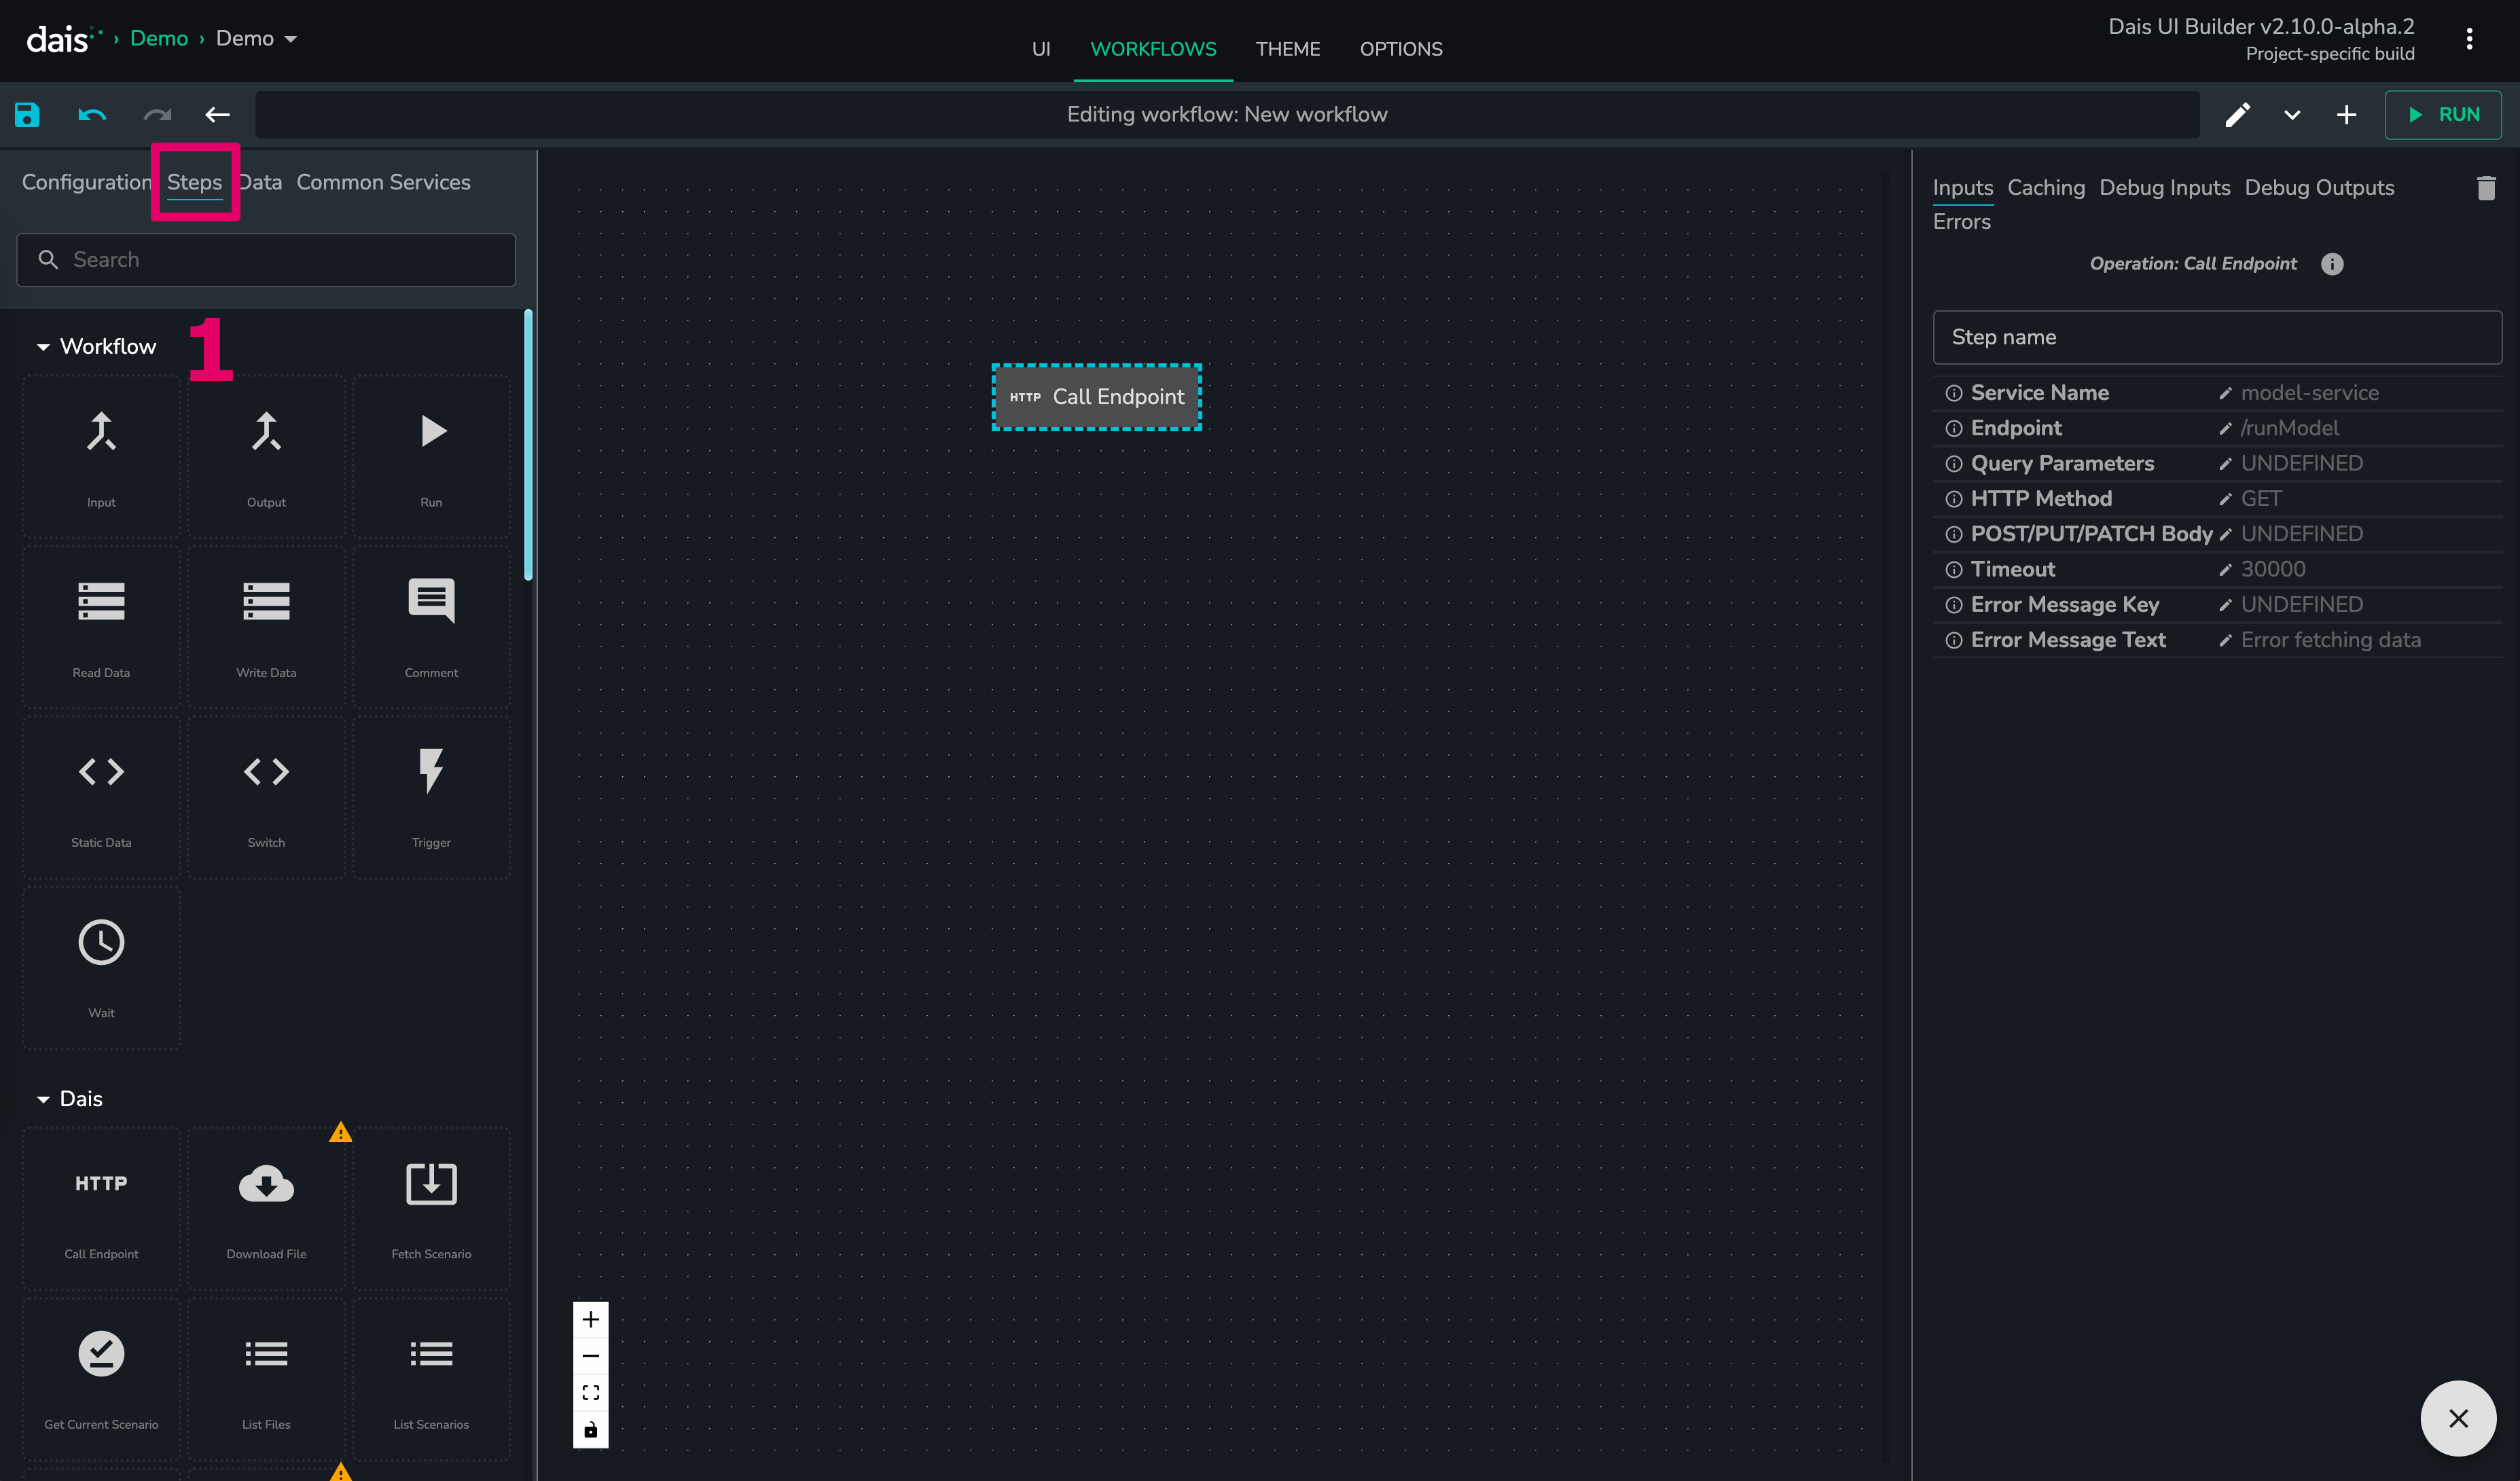
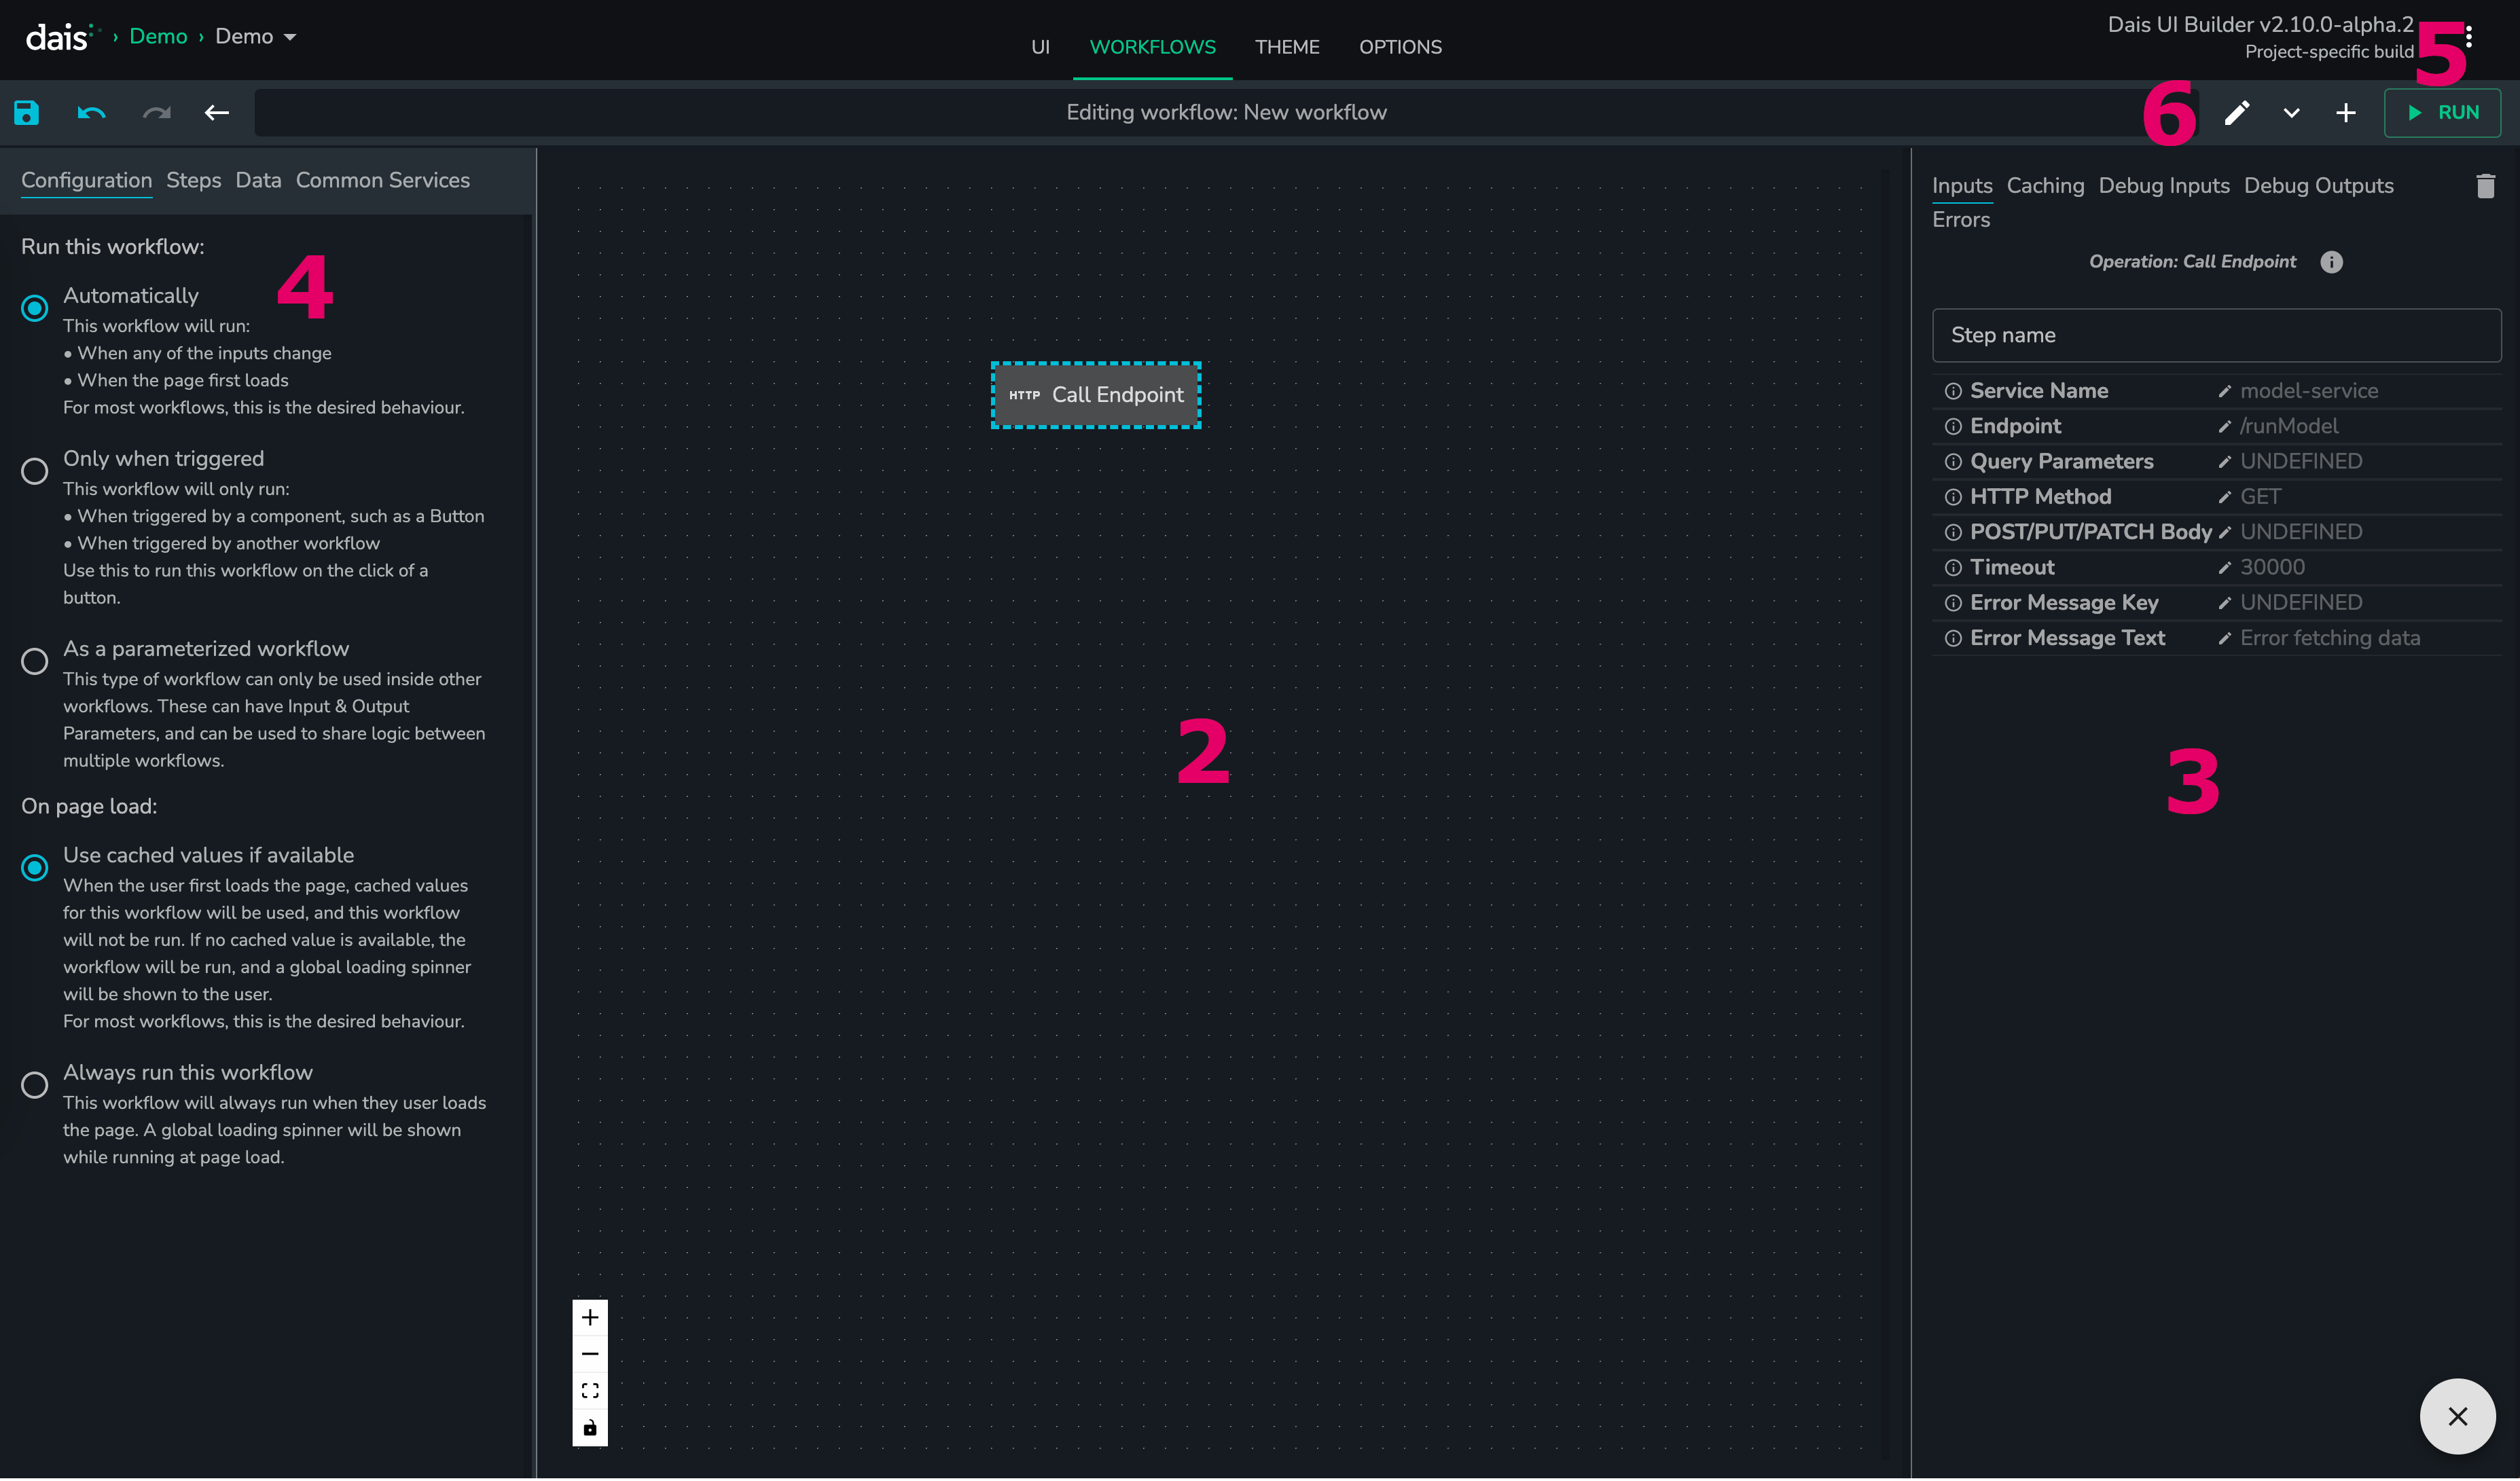
Steps panel: This panel contains every stepStepsavailable to you. To add a step to the workflow, drag the step onto theFlow canvas.Flow canvas: This panel contains the flow that you createStep configuration panel: This panel contains configuration options for individual steps. It will be blank until you add a step & select it.Workflow configuration panel: This panel contains configuration options for the whole workflow - more on this later.Run workflow: This button is used to run the Workflow while creating it. More on this later.Rename workflow: Use this to rename the workflow.
First things first - rename the workflow to Multiply slider values
Create a Flow
Add the Inputs
We will now start constructing the workflow. The first step is usually to add the Input steps. As we want this workflow to multiply together value1 & value2 from the UI Only store, we need to add 2 Input from store steps to get these values into the workflow.
First drag a Input from store step from the Steps panel onto the Flow canvas. You should now see the step on the canvas:
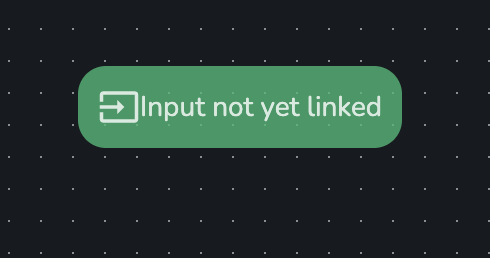
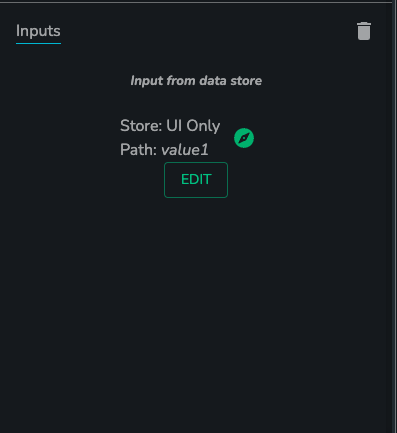
To configure this input, click the step to select it, and use the Step configuration panel to configure the step to consume value1 from the UI Only store.
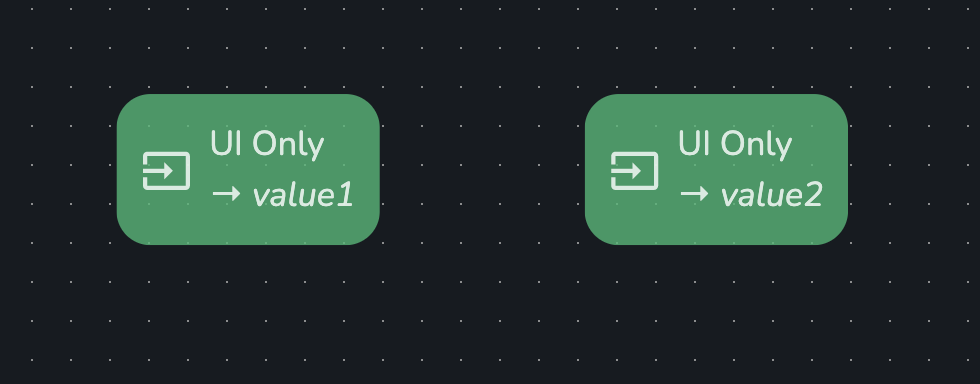
Now add another Input from store step to consume value2 from the UI Only store. Your flow should now look like this:
Add the Operations
Now, to perform the multiplication, add a Math Operation step to the flow. When you hover your mouse over each step, you can see the white 'handles' which represent the inputs/outputs of each step. The black handles represent Trigger handles - you can ignore these for now
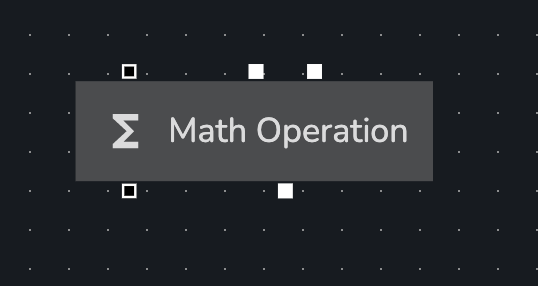
We want to link value1 & value2 to the 2 inputs of the Math Operation step. To do this, click & drag the handles to join them up:
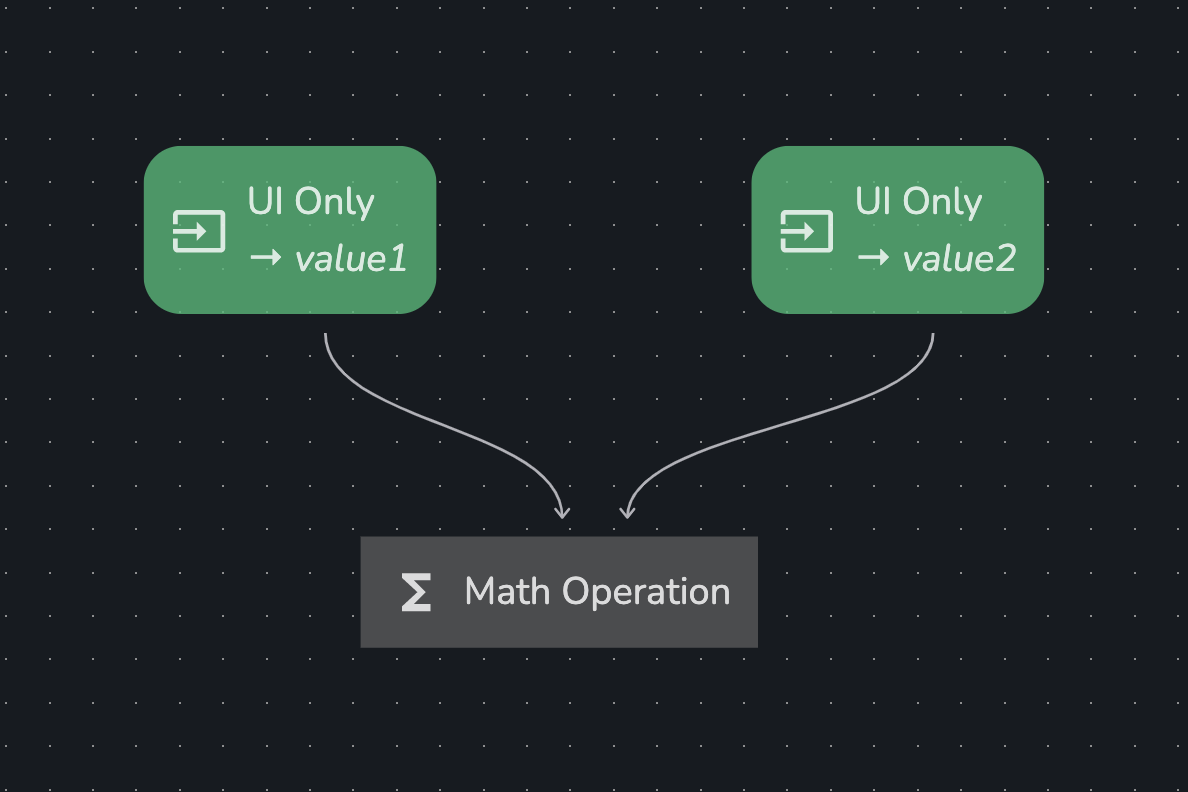
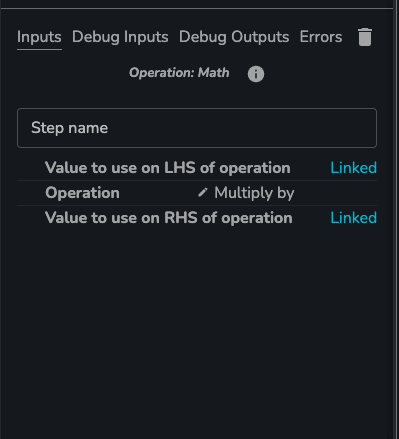
The values will now be piped into the Math Operation step. Now, select the Math Operation step and use the Step configuration panel to configure it to multiply the 2 inputs.
Add the Outputs
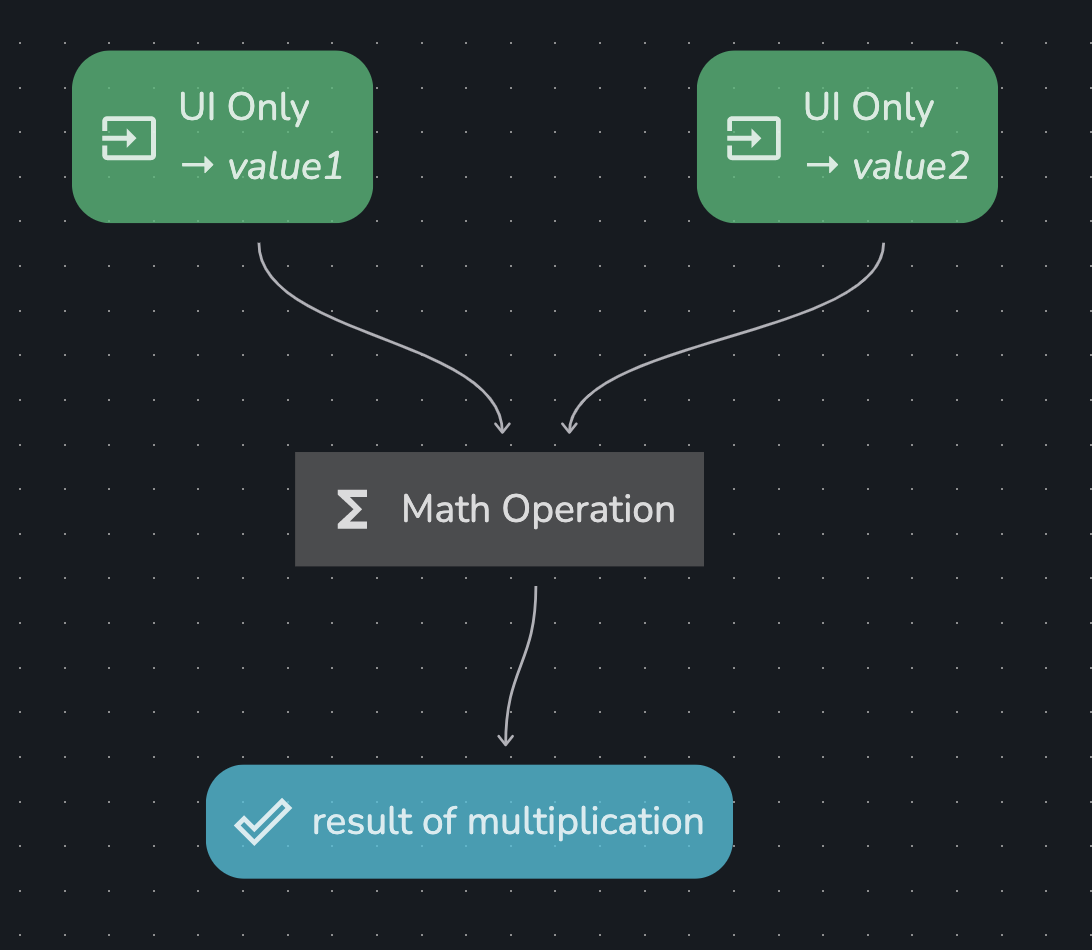
Now that we have the multiplied values, we want to expose this value so that we can use a UI component to display it. To do this, we need to pipe it into a Workflow Output. Drag a Save output step onto your flow, and pipe the output of the Math Operation into it. Configure the Save output step to give it an informative name.
Display the Result in the UI
Now that you have created the workflow - we want to display the result to the user. In the UI, add a Header component. Link the Text property to the output of the workflow:
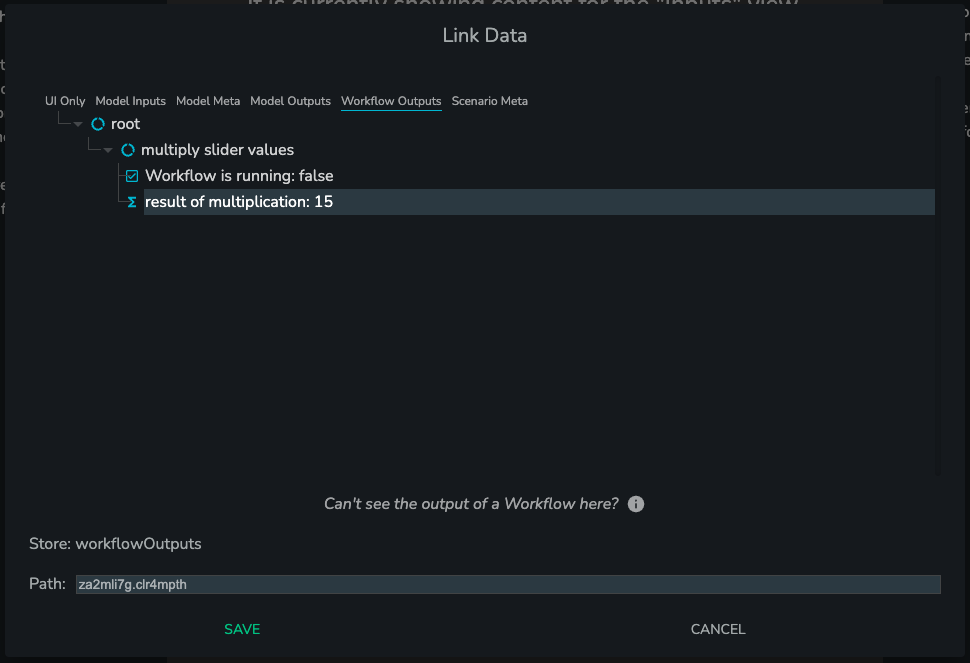
And that's it! You should now be able to change the values of either slider, and watch the Header component show the multiplied result.